
Do you want to search in all categories or in this category ?
Connect your printer to the power using the power cable provided and turn it on using the Power button.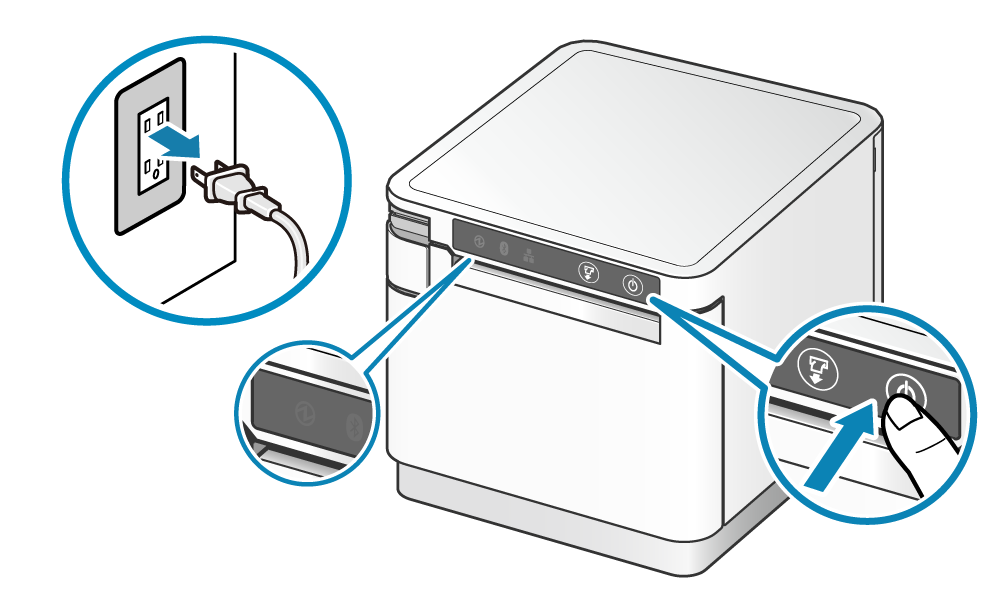
Then connect your Printer to the Internet using a LAN cable to connect it to your WIFI router.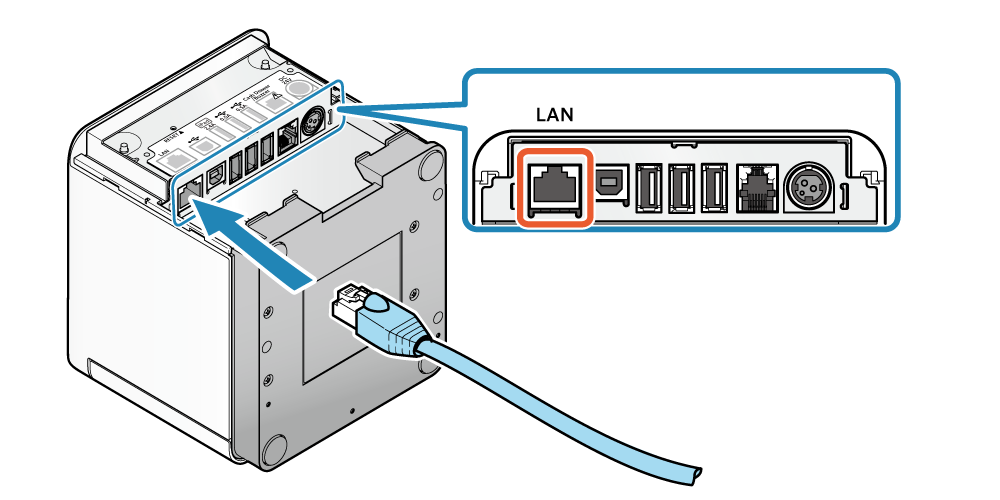
Connect using the same cable to the router.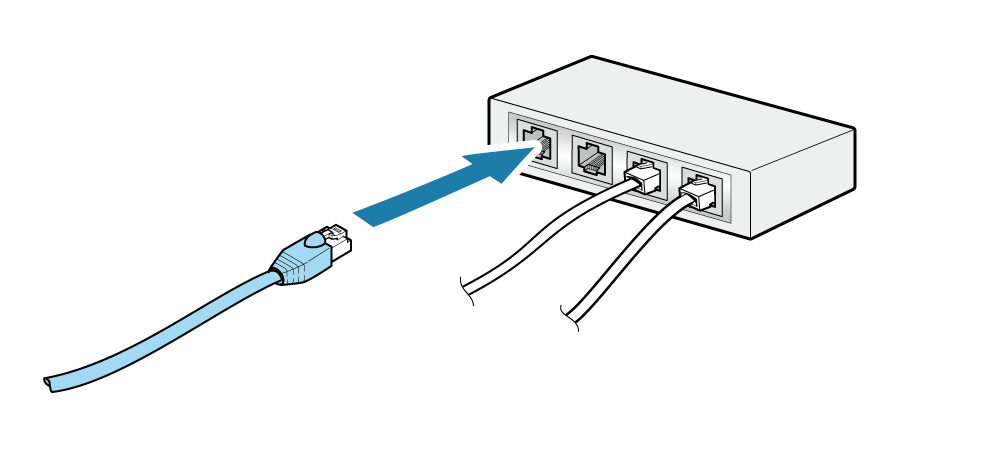
Using a mobile phone, download the Star Quick Setup Utility app.
For Android Download Here: https://play.google.com/store/apps/details?id=com.starmicronics.starquicksetuputility&hl=en&gl=US
For iOS Download Here: https://apps.apple.com/us/app/star-quick-setup-utility/id1549088652
Once you have downloaded the app, ensure that you are connected to the same WIFI network with your mobile phone, as your printer and perform a Self-Printing receipt.
Turn your printer off. Hold down the Power button on the right side of the operation panel on the front of the main unit for 1 second or more.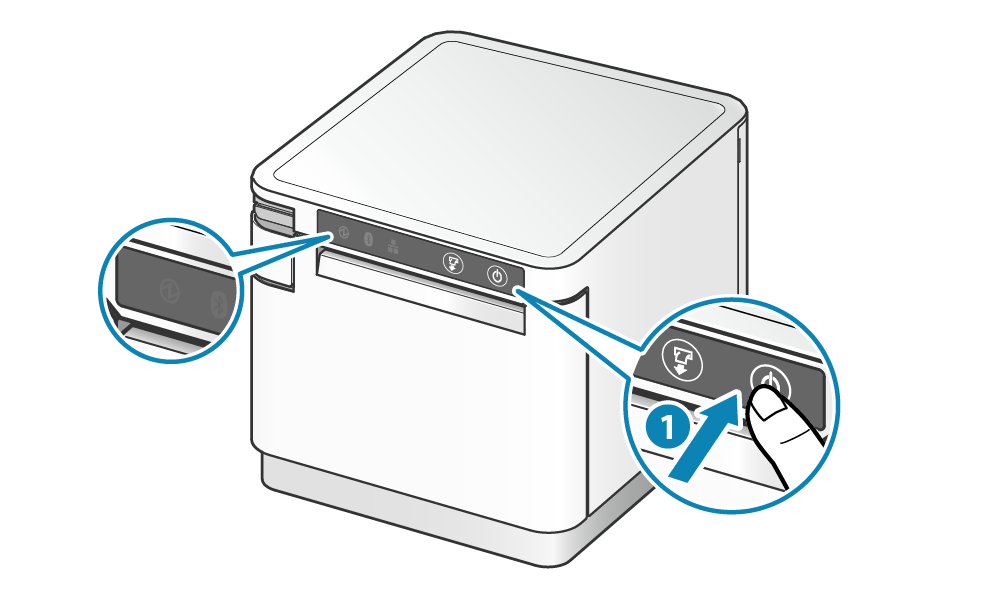
Perform Self-PrintingWhile holding down the FEED button  , press the Power button, and release it
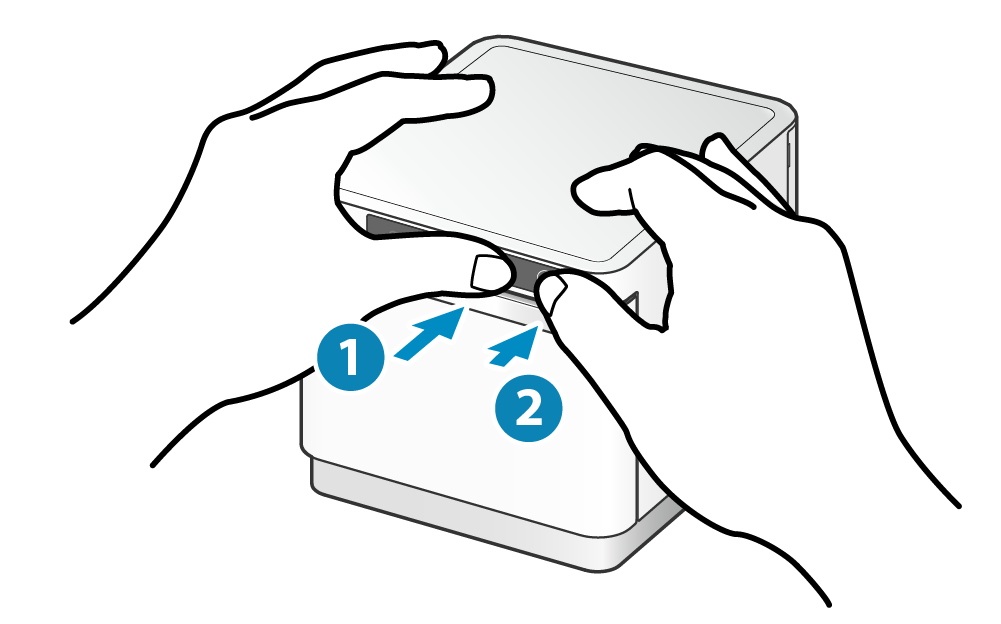
Take your hands off the FEED button when Self-Printing has started.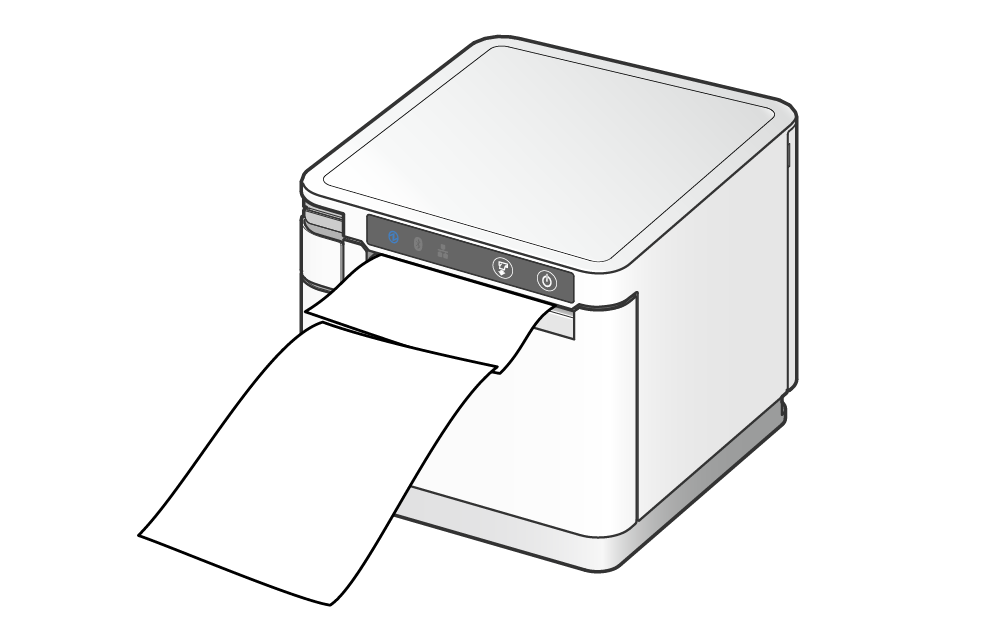
Once your self-printing receipt has been printed, scan the QR code at the bottom of the receipt using your mobile phone camera and it will open your Star Printer app for you to connect to your printer. Again please make sure that you are connected with your mobile phone to the same network as your printer.
Once you open the app on your mobile phone, you will be able to select your printer to connect to at the top of the screen. Then click on 'Printer Settings' to see all the settings available.
After clicking 'Printer Settings' on the next page scroll down and you will be able to see Star CloudPRNT settings. Click on that to edit the Star CloudPRNT settings.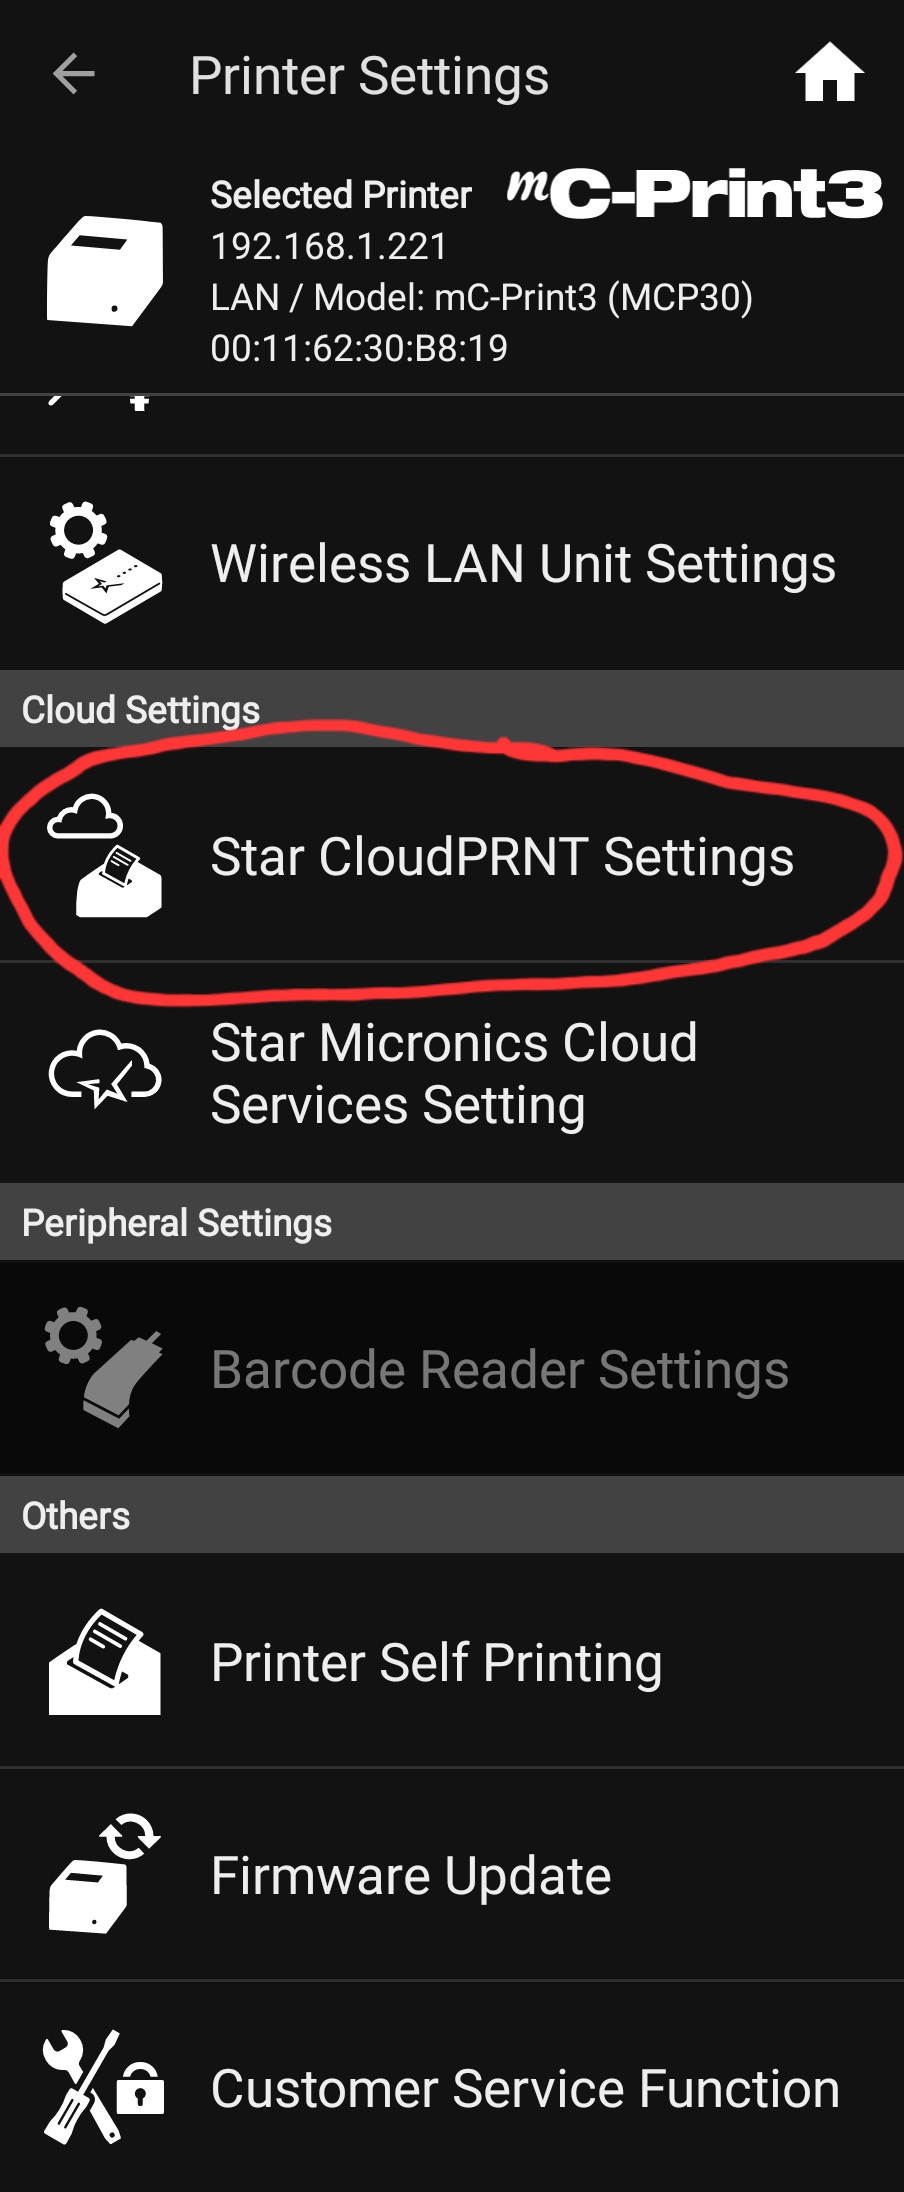
At the top you will be able to see Server URL, copy this link:
https://beta.starprinter.online/cloudprnt/dinerly
And paste it on the Server URL field.
Change your Polling Time (Sec.) to 1
If it asks you for your username and password, check the email we sent you, you have the username and password at the bottom of that email. Do not change any of the other settings.
Then click Apply at the bottom of your screen and save your settings.
Email us at support@dinerly.com to let us know you have completed your setup so we can check if your printer is appearing on our side.


Your guide on how to do everything in Dinerly. Here you can find information and detailed instructions on how everything works in Dinerly.